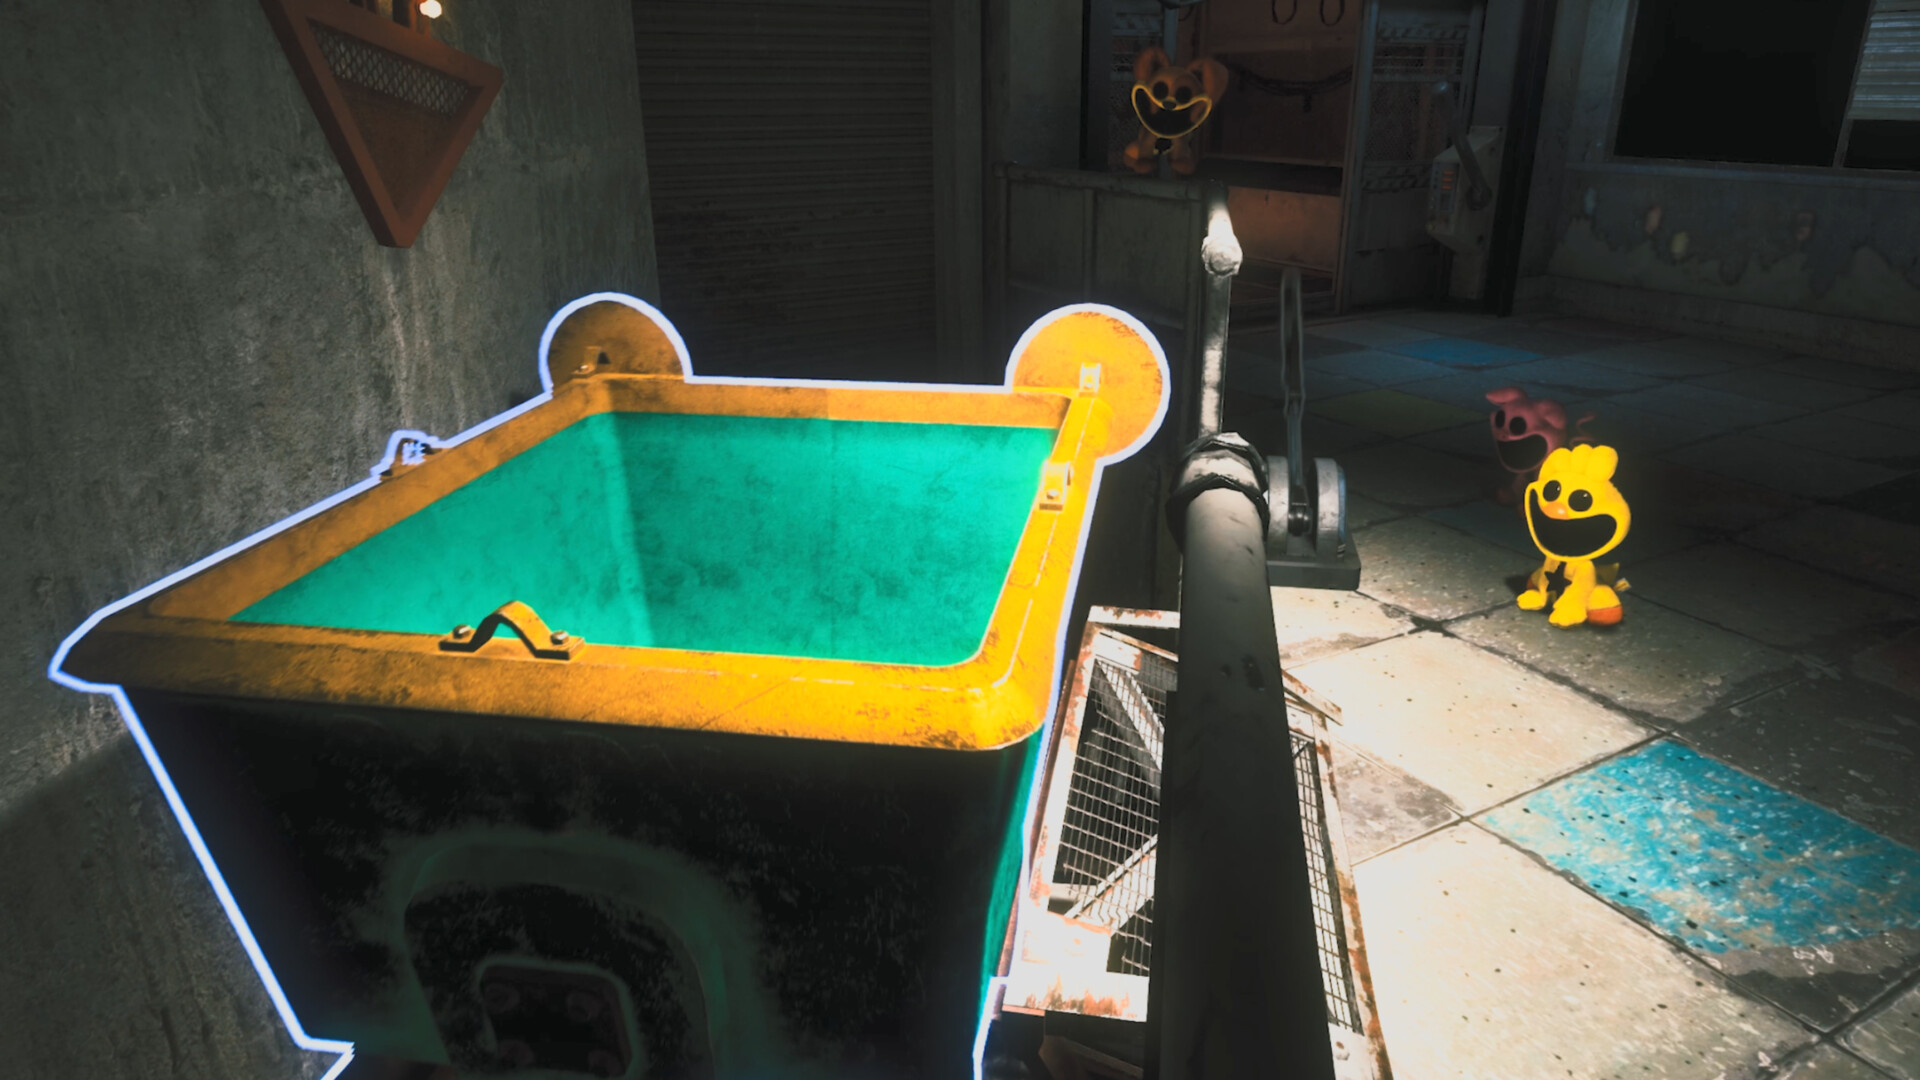
Find Barry Before You Explore
Use the Sketch-A-Map to locate Barry and your teammates, then mark important turns with glowsticks so you can retrace your loot route. Escape from Playtime changes the factory layout between runs, so plan around the current rooms instead of memorizing a fixed sequence of turns. Every player receives a Sketch-A-Map at the start of a new game, making it a practical starting point for exploring and returning with tribute.
Read the New Layout Each Run
Early Access launched with one starter zone, Playcare School. The broader factory setting includes classrooms, warehouses, testing labs, and connecting corridors. Use these room types to describe your surroundings to teammates, rather than treating their names as a fixed route through the facility.
Room arrangements, routes, and resource locations can differ between runs. A room you recognize can still help you get your bearings, but check how it connects to the surrounding space before relying on a previous route. Build your return plan from the current layout and the landmarks you have actually passed.
Factory Areas and Navigation Landmarks
| Area or Landmark | Navigation Purpose |
|---|---|
| Playcare School | The starter trial for Early Access and the zone context for your initial factory exploration and experiment encounters. |
| Classrooms | Rooms for exploration and encounters. Use the classroom you have entered as a local reference while checking its surrounding connections. |
| Warehouses | Scavenging spaces in the factory setting. Describe their connections to teammates instead of assuming the same approach works every run. |
| Testing labs | Additional factory exploration areas. Check their position in the current layout before extending a search toward them. |
| Connecting corridors | Routes between factory rooms. Important turns are useful places for glowsticks that help you retrace your path toward Barry. |
| Cave | Signs label its different sections. The Lost & Found Box lets you reclaim valuable items lost down the hole. |
| Barry | The tribute delivery cart and your main return objective. Sketch-A-Map helps you locate him while exploring. |
| Elevators | Access and route transitions. A broken lever indicates an inaccessible elevator, so choose another route instead of trying to use it. |
| Exit hatch | The way out after meeting the tribute quota. It opens automatically when the quota is reached. |
| Perm-A-Lounge | The hub for regrouping between shifts, checking rewards, tracking progress at the computer, and examining recovered lore. |
Build a Loot Route Back to Barry
- Open Sketch-A-Map before setting out. Its overhead view shows the surrounding space, your teammates, and Barry, giving you a reference for the return journey.
- Choose a nearby, accessible room as your next search destination. Prioritizing reachable loot keeps the trip manageable before you commit to more distant side areas.
- Place glowsticks at important turns along your outward route. These markers help you and your teammates retrace the path toward Barry when it is time to deliver loot.
- Search accessible rooms, shelves, and containers for useful resources. Keep the search focused on places you can reach safely rather than extending the trip to inspect every corner.
- Check the shift timer on the main HUD during your search. It turns red when less than a minute remains; allow time for the journey back and the tribute delivery before that warning becomes urgent.
- Return to Barry with your collected resources while the route and remaining time are manageable. Securing a delivery is more useful than risking your haul for an unnecessary detour.
- Throw the items intended as tribute into Barry. Letting the team finish loading before the cart is sent avoids interrupting teammates who are still adding their haul.
- Pull Barry’s lever after the team has finished loading. This submits the tribute toward your quota, and Barry leaves before returning after a delay.
- Leave through the exit hatch once the quota is reached. The hatch opens automatically, so completing the delivery is your cue to finish the escape rather than begin another loot trip.
When Your Return Route Becomes Dangerous
If an enemy makes your usual path unsafe, look for another way around using recognizable landmarks. Check that a narrow passage is usable before committing to it, especially when you are depending on it as an escape route. A shortcut only helps if you can actually get through it.
Climbing can help you survey a room, spot loot, and notice enemies before they get close. Running, jumping, and climbing consume stamina, so spending everything reaching a difficult item can leave you poorly prepared to escape. Keep enough stamina for the return and abandon an awkward detour when the risk outweighs the reward.
Regroup Before the Next Search
Between shifts, the Perm-A-Lounge gives your team somewhere to regroup and check rewards. Returning from the facility after a shift fully restores health and flashlight battery. Use that regrouping time to agree who will handle navigation and glowsticks on the next trip, so your searches share a clear return plan.